Colorizing a black and white photo
We all have a treasure trove of old photos passed down from our parents, grandparents, and so on. Often, these photos are in black and white, and sometimes we wish to bring them to life in color. There are numerous websites online where you can achieve this with just a few clicks right in your browser. However, the problem with these sites lies in their many restrictions on quantity and quality. Additionally, these services often require registration and subscriptions, which can be quite frustrating. In this post, I’d like to share how you can colorize any number of photos using the fantastic tool, DeOldify, without the hassle of limitations, registrations, or subscriptions.
DeOldify has an amazing introduction, and you may use it, but for non-prepared people, it may seem a bit difficult. Here, I’d like to demonstrate a simpler way of using DeOldify.
Preparing the environment
To get started, you’ll need a computer running Linux or macOS. If you’re using Windows, you can still proceed by utilizing the Windows Subsystem for Linux (WSL).
There is a list of required packages for Ubuntu:
1
2
sudo apt update
sudo apt install python3-pip wget git ffmpeg libsm6 libxext6
You may use the list as a reference if you have another Linux distribution.
For macOS (unfortunately, this is an approximate list as I don’t have a clear macOS for testing):
1
brew install python wget git ffmpeg libsm libxext
Create a separate folder named Sandbox to do everything in. You can choose any other name or even choose not to create anything and skip this step altogether.
1
2
3
# Optional
mkdir Sandbox
cd Sandbox
Then clone DeOldify:
1
git clone https://github.com/jantic/DeOldify.git
DeOldify doesn’t have any releases or tags, which means that we work with the master branch. I believe that everything should work with the latest master at any time. But just in case, here is a revision number with which I tested everything: be725ca6c5f411c47550df951546537d7202c9bc. If you want, you may checkout to it:
1
2
3
4
# Optional
cd DeOldify
git checkout be725ca6c5f411c47550df951546537d7202c9bc
cd ..
After that install all python dependencies:
1
2
3
pip3 install --user -r DeOldify/requirements.txt
pip3 install --user -r DeOldify/requirements-colab.txt
pip3 install --user -r DeOldify/requirements-dev.txt
Next, create a directory for the models and download the model:
1
2
mkdir -p DeOldify/models
wget https://data.deepai.org/deoldify/ColorizeArtistic_gen.pth -O DeOldify/models/ColorizeArtistic_gen.pth
That’s it! The environment is ready, the hardest part is behind us. Now, let’s write a bit of Python code.
Colorize everything
The most interesting and useful function for us is ModelImageVisualizer.plot_transformed_image(). All we need to do is write code around it.
Here is my implementation:
1
2
3
4
5
6
7
8
9
10
11
12
13
14
15
16
17
18
19
20
21
22
23
24
25
26
27
28
29
30
31
32
33
34
35
36
37
38
39
40
41
42
43
44
45
#!/usr/bin/python3

from deoldify import device
from deoldify.device_id import DeviceId

# choices:  CPU, GPU0...GPU7
device.set(device=DeviceId.GPU0)

from deoldify.visualize import *
import warnings

import sys
import os

warnings.filterwarnings("ignore", category=UserWarning, message=".*?Your .*? set is empty.*?")

# Play with this constant!
render_factor = 35

input_dir = sys.argv[1]
output_dir = sys.argv[2]

if not os.path.isdir(input_dir):
    print("input directory is not a directory or not exist")
    sys.exit(1)

if os.path.exists(output_dir):
    print("out directory is already exist")
    sys.exit(1)

os.makedirs(output_dir)

root_dir = Path(os.environ['PYTHONPATH'])
colorizer = get_image_colorizer(root_folder=root_dir, artistic=True)
for filename in os.listdir(input_dir):
    f = os.path.join(input_dir, filename)
    if os.path.isfile(f) and (f.endswith(".png") or f.endswith(".jpg") or f.endswith(".jpeg")):
        image_path = colorizer.plot_transformed_image(
            path=f,
            results_dir=Path(output_dir),
            render_factor=render_factor,
            compare=True,
            watermarked=False
        )
        print("{} ready".format(image_path))
Feel free to copy, paste, and modify it however you want.
The script reads all .png, .jpg, and .jpeg images from the directory passed as the first script argument and colorizes them, saving the results into the directory passed as the second script argument. Note that the output directory must not exist; the script creates it itself. I saved the script in the Sandbox/runner.py file, but you may use a different location and name if you prefer.
Let’s try it! I placed a black and white photo into Sandbox/photos/in, and the output directory is Sandbox/photos/out:
1
2
# from Sandbox directory
PYTHONPATH=./DeOldify/ python3 runner.py photos/in/ photos/out/
The environment variable
PYTHONPATHmust refer to the DeOldify directory.
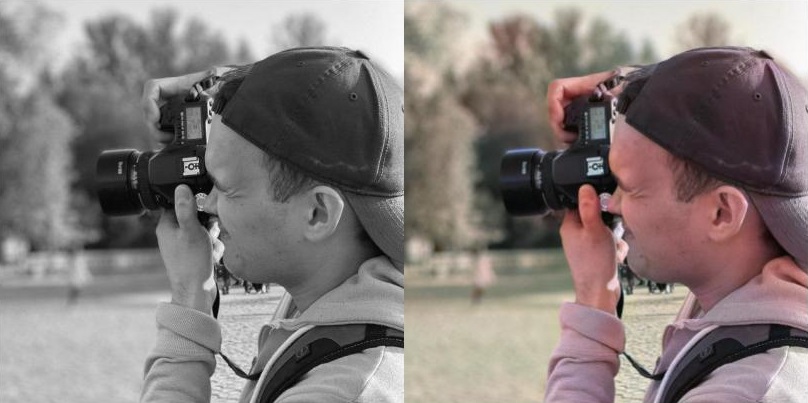
Here is the result:
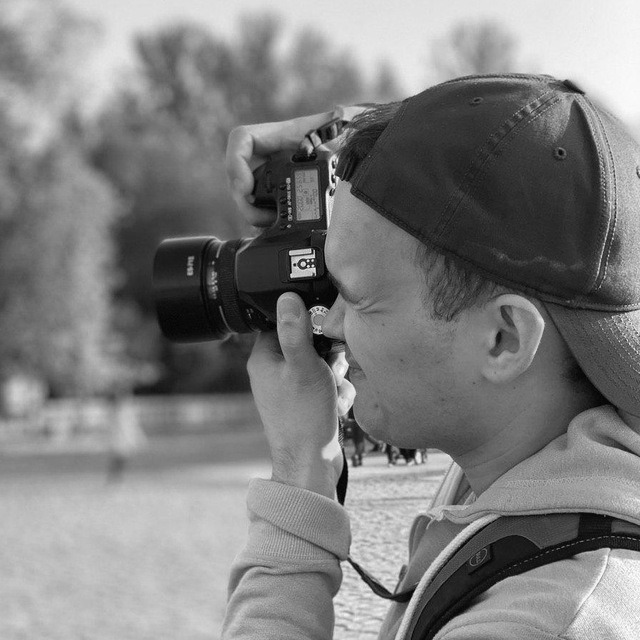 Black and white photo
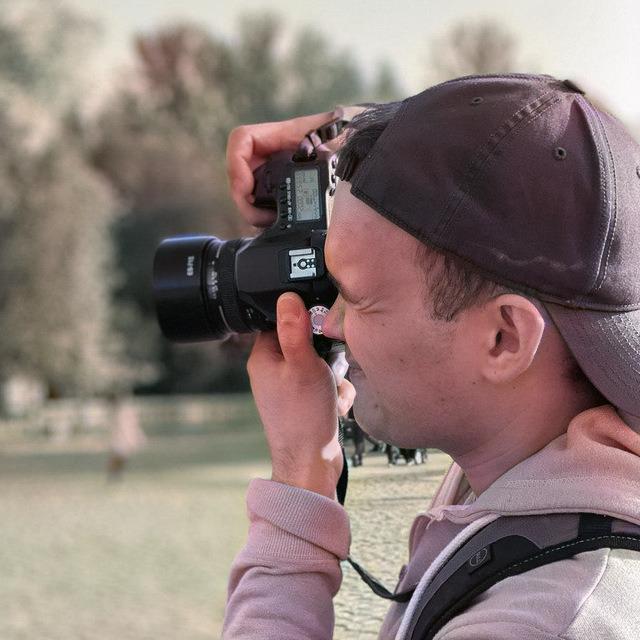 Colorized photo
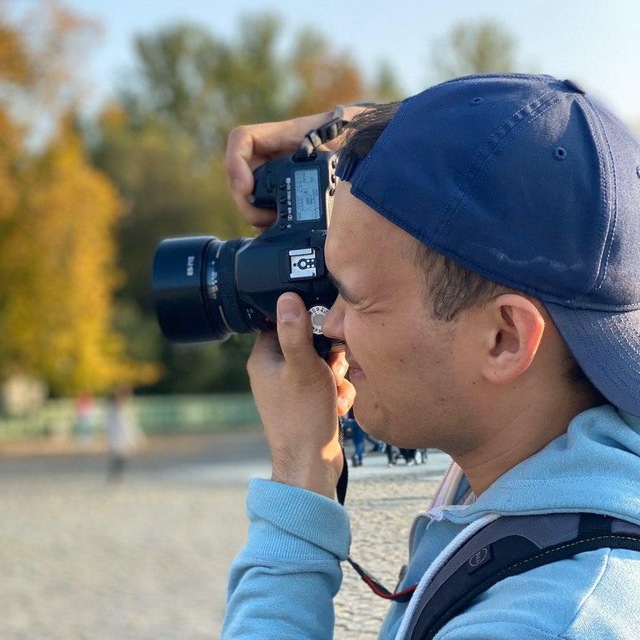 Original photo